How to prevent rock climbing accidents
Climbing is fun however, anything that is fun comes with some inherent dangers. You may have been a witness or involved (if you are unfortunate) in a climbing accident in the past. With more people getting into climbing and more climbing gyms popping up, the likelihood of climbing-related accidents will increase. Hence climbers both experienced and inexperienced must know what to look out for to prevent accidents from taking place.
Belaying
One of the most common accidents is due to bad belaying techniques. Although manufacturers are regularly developing newer and better belay devices, accidents still take place. Having a new and fancy belay device is not a substitute for a good belaying technique.
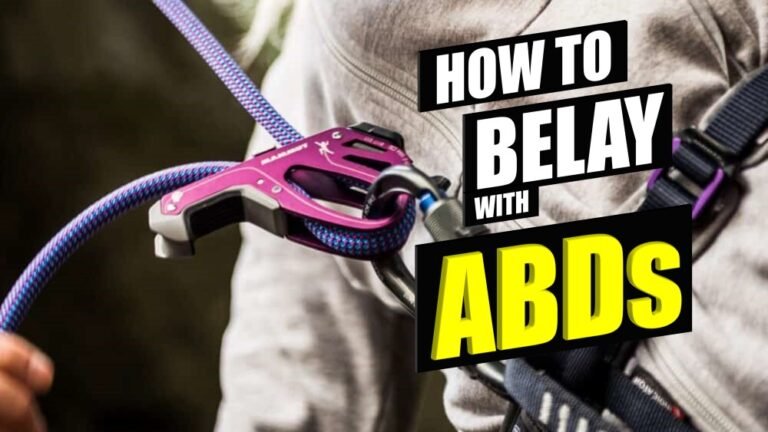
The wide range of Assisted Belay devices (ABDs) can be detrimental to users because different designs work differently. If you are not familiar with the particular ABD’s release mechanism do not use it unless there is supervision. Accidents had taken place where the climber fell while being lowered because the belayers were not familiar with the release mechanism of the ABD they were using.
Top rope and lead belaying are very different. For lead belaying, the belayer needs to communicate and respond to the climber’s every request. Paying out or taking in slack at the wrong time can affect your climber which may result in bad falls.
Click here to watch videos on belaying best practices
Rope
Having the right rope length for the route you are climbing is essential. You shouldn’t climb a route with a rope that is not long enough to lower you back to the ground. The rope you use must be at least more than double the length of the route you are climbing. If the route is 30 meters your rope needs to be at least double the length plus 10% longer or more. Getting a 70-meter rope should be more than sufficient for you to climb most outdoor routes (most outdoor routes are less than 30 meters).
Ropes can be expensive so you may like to borrow one from your friend or a climbing gym. Regardless of who you get the rope from you must always check the condition of the rope, especially the length. No matter how much you love and trust your friend always check the rope thoroughly. Click here to find out how to inspect a climbing rope. To measure the length of the rope you can use your arm span. Extend your arms out and identify the 1-meter mark measuring from one tip of your finger to the other end.
Once you identify the 1-meter mark you can use that as a way to estimate the length of the rope. Pull one end of the rope to measure out every meter against your arm span’s 1-meter mark. Repeat till you reach the other end of the rope. This method may result in an error of 2 to 3 meters give or take. But it is sufficient to know if the rope is long enough for the route you are climbing.
Learn to tie a stopper (or barrel) knot as it can save your life. If you are too lazy to verify the length of your rope you should at least tie a stopper knot on the belay end. If the rope is too short tying a stopper knot will prevent the belayer from feeding the rope through the belay device and dropping the climber. Click here to check out how to tie a stopper knot.
Spotting
Always spot your climber. This is especially true for outdoor climbing where the first quickdraw can be quite high up. Coupled with a dangerous landing such as a steep slope or rocky ground can cause serious injury if the climber falls before clipping into the first draw. Spotting is not to catch the climber during a fall but to direct the climber’s fall to a safe stop as well as to “cushion” the fall.
Cleaning a sport anchor
Cleaning a
There are many ways to clean a sport anchor but the most important thing to remember is to have redundancy in your system. Always have a piece of gear to back up yourself when you are at the anchor. If you are not familiar with how to clean do not try to attempt. It is safer to have someone with more experience do it than to risk making a mistake up at the anchor.
Abseil/Rappel
Abseil (or if you are an American – rappel) is for climbers to lower themselves down from the anchor. A few important things to take note of. Always tie a stopper or barrel knot on both ends of the rope. The stopper knot will prevent you from abseiling off the ends of the rope. The knots also ensure you won’t accidentally pull your rope out of the anchor and drop it. If you do drop your rope and your climbing partner is with you on the top of the route then good luck. I hope you have a mobile phone with you to call for help.
Make a middle marking on your climbing rope to help you identify the midpoint of the rope. If your rope does not have a mid-point marking you’ll need to run both ends of the rope through your hands to identify the midpoint. The midpoint marking on the rope needs to be prominent and the area needs to be wide. This is so you won’t miss it when you are pulling the rope to get the midpoint to the anchor.


Always set up an auto-block using a prusik when abseiling. Many climbers do not think that it is necessary to set up an auto-block for short single-pitch abseil. However, when climbing outdoors you are exposed to the environment. Bees, birds, lizards, and many other creepy crawlies can come at you seemingly from nowhere.
You may freak out and start swapping away the invaders with both hands. Or you may get knocked out cold by a falling rock and let go of your hands while abseiling. These examples may sound rare but are likely to happen. So take a minute to set up an auto-block when abseiling even for a short single pitch. Click here to check out the different types of abseil techniques.
Climbing ropes – Everything you need to know
Always check your gears
This is an actual accident where a climber lost his life due to human error. The quickdraws that were used were set up incorrectly and no one checked before climbing, resulting in a fatal accident.
Conclusion
Most accidents happen due to human errors and negligence. If you are going outdoors to climb you’ll need to practice before heading out. Or you can always tag along with other more experienced climbers and learn the ropes.
Get familiar with your belay devices. When using a device you are unfamiliar with always try out the device on a
For cleaning anchors and abseiling, make sure you know what you are doing. If you have any doubts or start second-guessing if what you did is correct then you should stop. Clip 2 quickdraws at the anchor and use it to descend. It is better to sacrifice 2 pieces of gear than to risk your life.


